Cynoia team
Create or join Your First Workspace
Written by : Cynoia team
Option 1: Create Your First Workspace
If you’re setting up Cynoia for your team, you can create a new workspace in just a few steps.
Steps
After signing in, choose Create a workspace
Enter your workspace name
Choose your workspace Currency ( This choice helps us tailor your billing for the future and cannot be changed later, so please select carefully ).
You can add your WhatsApp number to get important updates and get early access to new features
Confirm to create the workspace
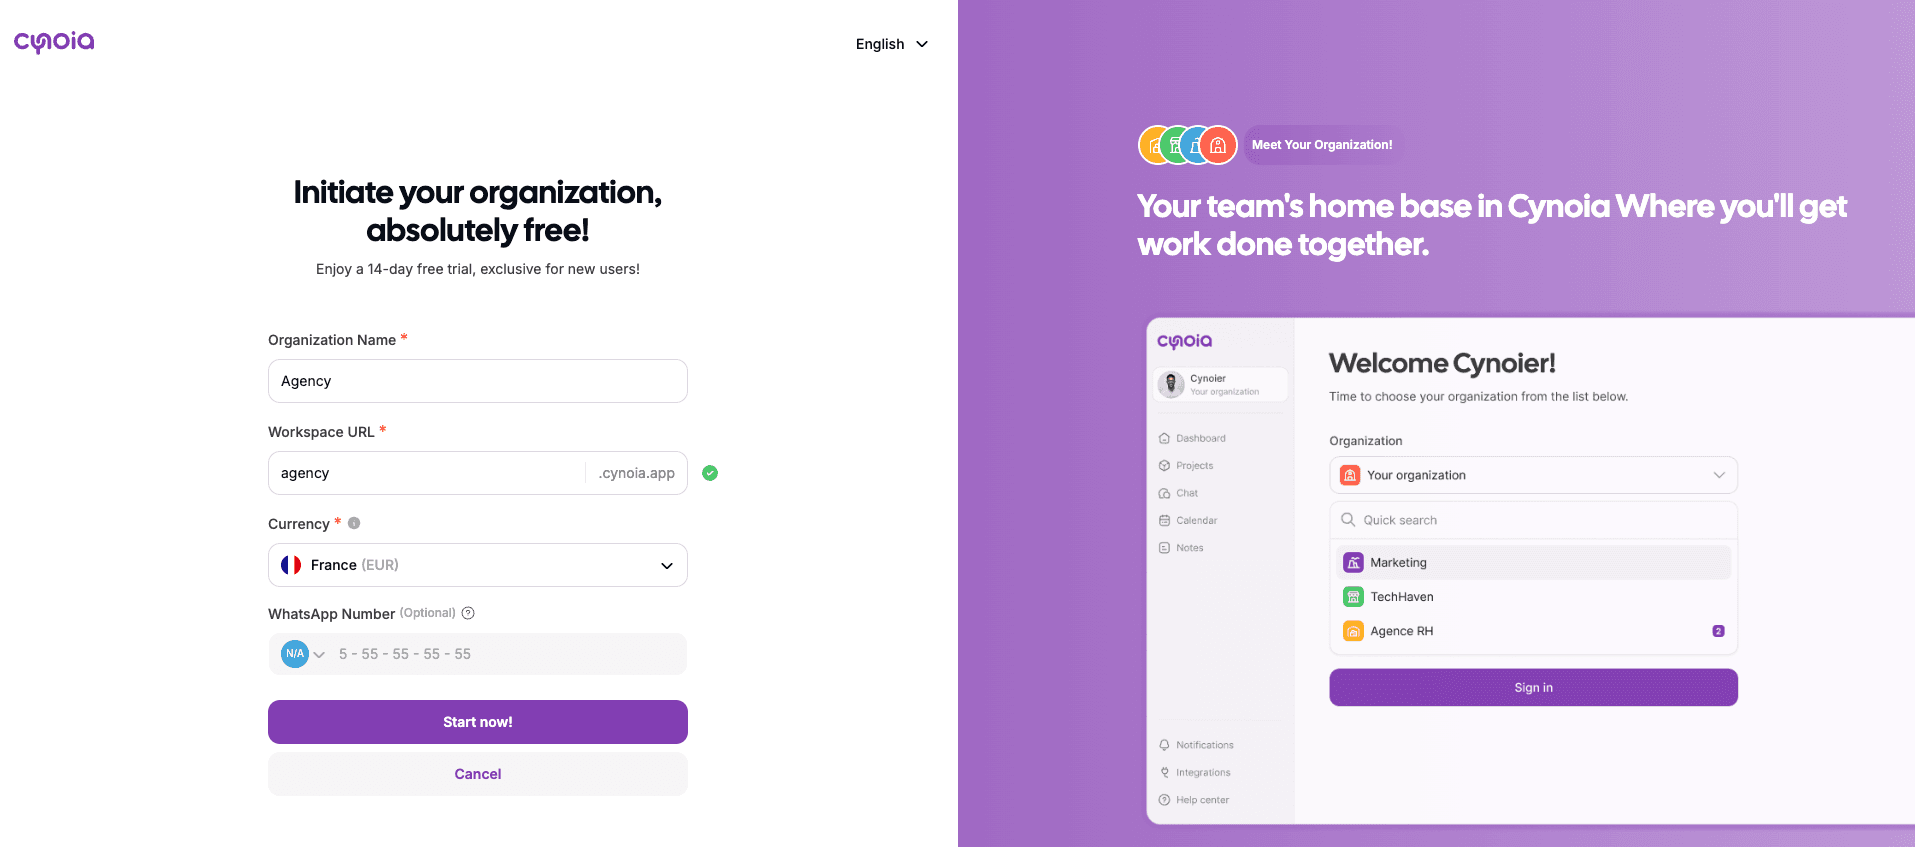
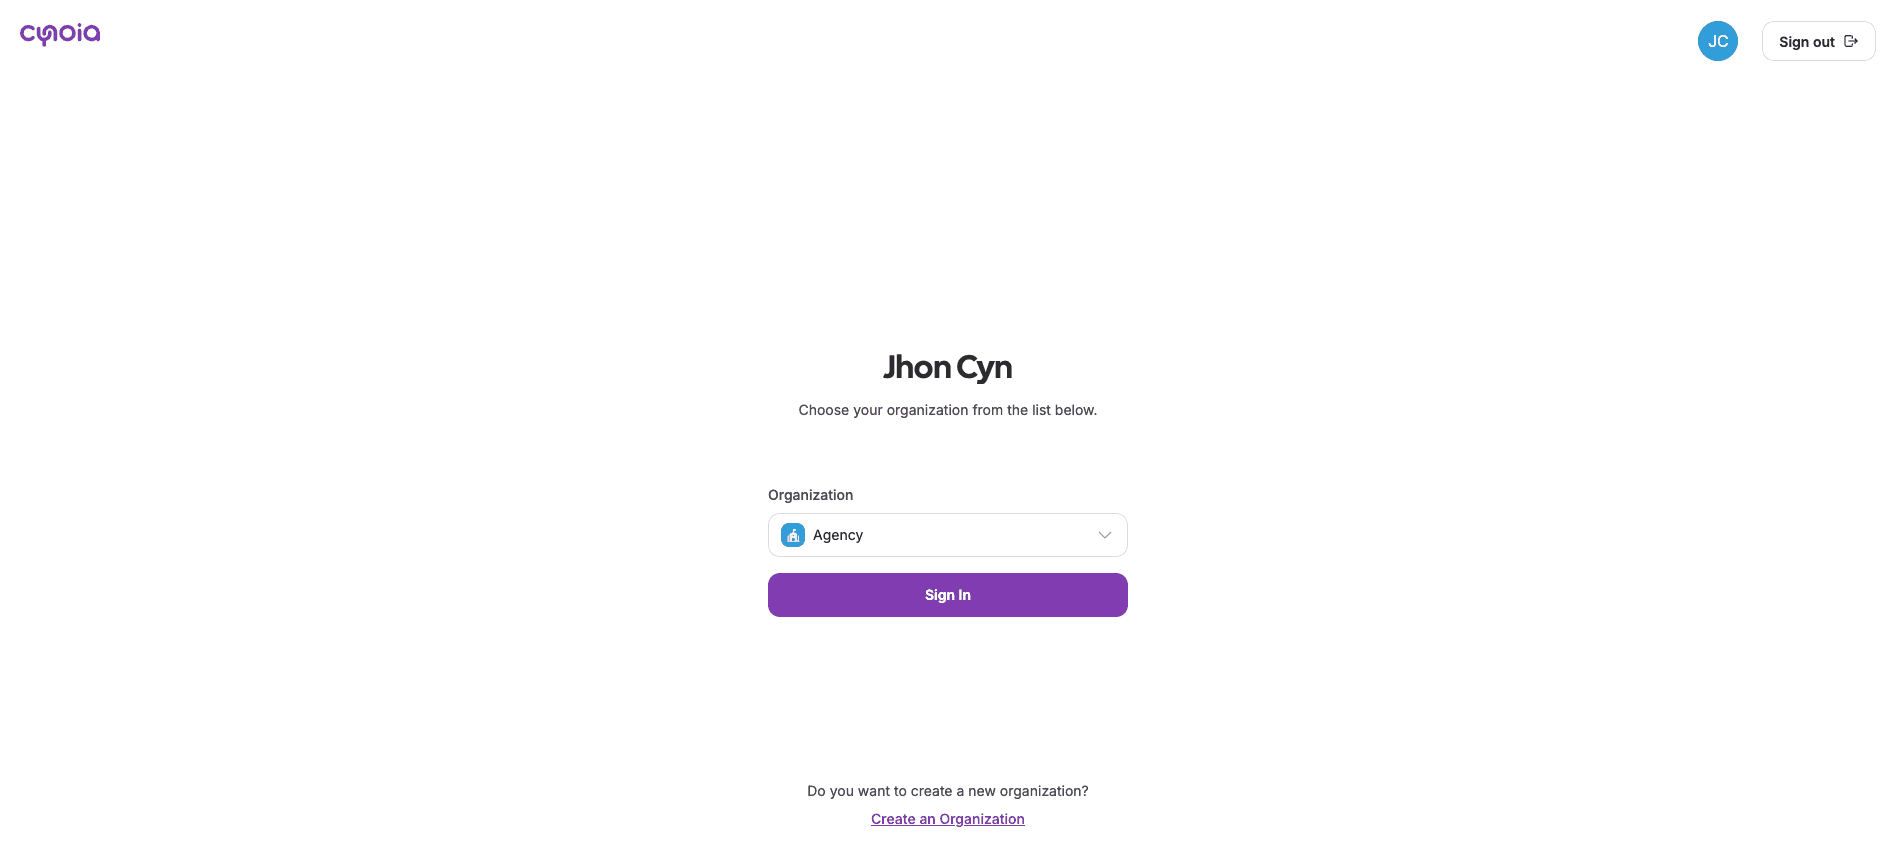
Once created select the workspace / organization and sign in
You become the workspace owner
You can invite members
You can start creating projects, notes, call rooms immediately
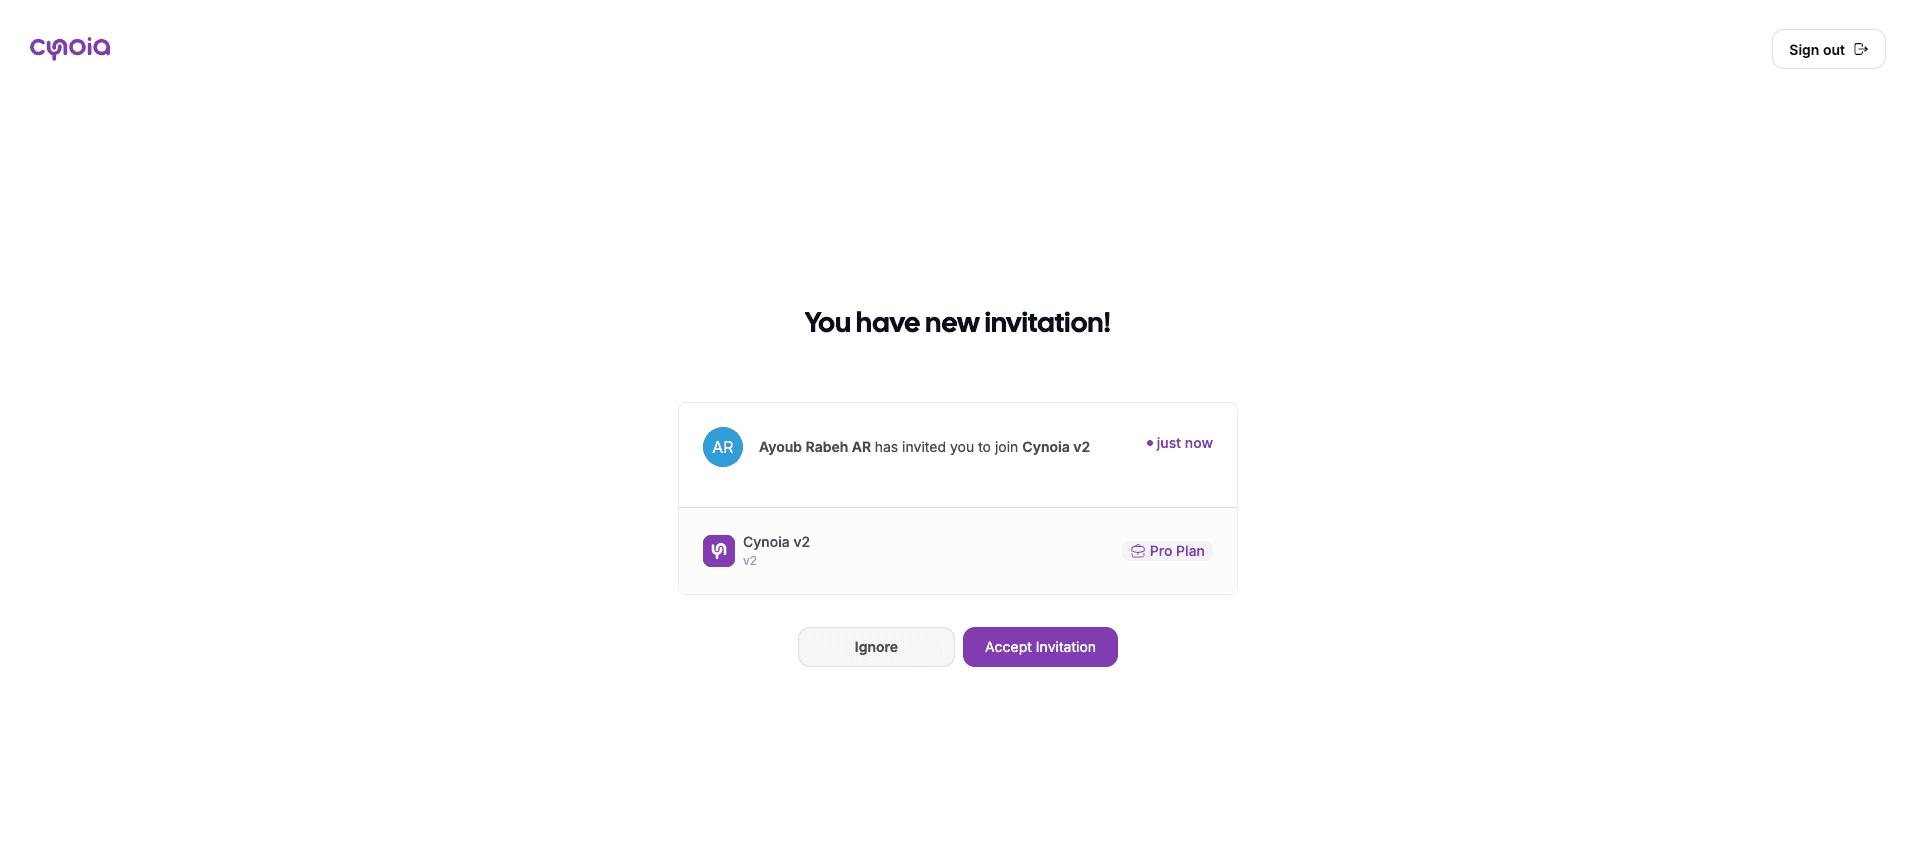
Option 2: Join an Existing Workspace
If someone has already invited you to a workspace, joining is quick and easy.
Steps
Open the invitation email you received
Click the Join workspace button
Sign in (or create an account if you don’t have one yet)
Click Accept invitation and you’ll be added automatically to the workspace
Your access level will depend on the role assigned to you by the workspace admin.
Switching Between Workspaces
If you belong to multiple workspaces, you can switch between them at any time from the workspace switcher in the app.

What’s Next?
Once you’re inside a workspace, you can:
Invite team members
Create your first project
Explore tasks, automation, chat, call rooms, notes, calendar, AI assistant and more …
👉 Next article: Invite Members to Your Workspace
Need Help?
If you didn’t receive an invitation or have trouble joining a workspace, ask the workspace admin to resend the invite or contact support. ( check your SPAM folder in case you didn't receive a notification )